
DYNAMIC
| This section describes the process of drawing dynamic figures! If you've always wondered how artists can draw figures in unique action poses, here's a process that may work for you!
|
|
Action Pose #2Here is a second look at the process of drawing characters in unique action poses!Who is this character?? Well, don't miss the Nightwing Secret Files to discover why this guy is called Nightwing!! Recall that I use a lightbox for my work. A lightbox is simply a box with a light source inside it and a clear working top surface. There are many advantages to using the box, but for this figure work, the important advantages are:
|
|
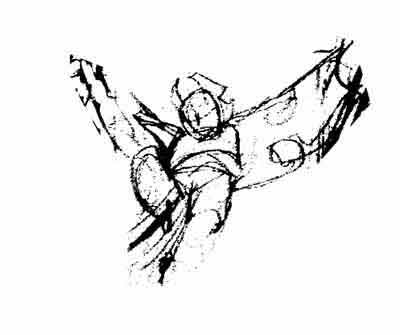
Step 1While drawing the Nighwing Secret Files origin story, I had to draw this character in a revealing, heroic, flying pose.Here is my gesture drawing, as it captured the feel for the figure that was 'on the tip of my brain," so to speak! |
|
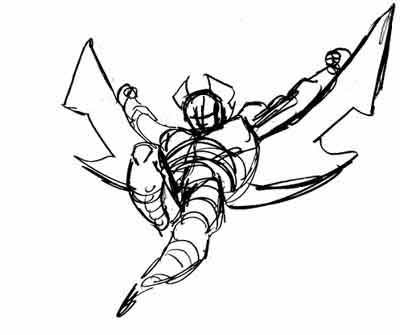
Step 2Now that we have the basic gesture drawing down, apply some very basic cylinder body detail!A cylinder body is simply a figure that is represented by simplified forms: a cylinder for the arms and legs, a modified block for the trunk, wedges for hands and feet....you get the idea! If you would like to see the basic proportions of the human body based on a standard of eight head heights, then click here. At this point I felt that the figure was turned a little too much to one side, and that a more head-on view would be better to reveal this guy. |
|
Step 3Let's make that correction!The cylinder body detail is modified slightly to bring the character into the desired position. Now that we have the position we want, let's add some muscles! |
|
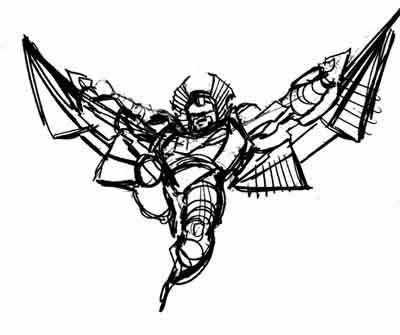
Step 4Here we don't have to worry about composition or overall figure proportion - we get to concentrate on the individual muscles around the frame we've constructed!Render the muscles simply but clearly and completely, as we will apply the lighting in the next step! |
|
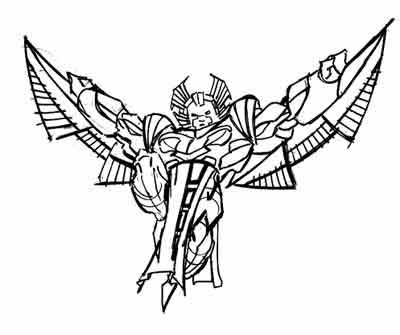
Step 5This is where it all comes together!Now that we have the major muscle groups and detail roughed in, we can go to town on the lighting! For this drawing, I've placed the light-source above the figure, so the highlights are on the upper surfaces and the shadows are on the lower surfaces! Simply go over each muscle group and render it according to your light-source! Since you've already indicated each muscle, all you need to do now is focus on determining the shading on a muscle if it is in a position to receive any light! This completes the work up to the layout! Next up: pencil it! |
|
|
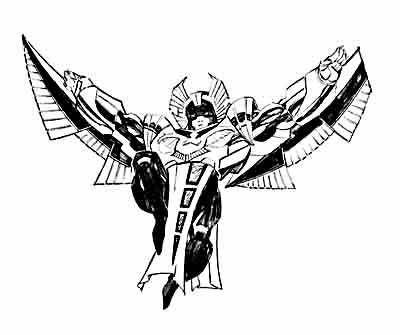
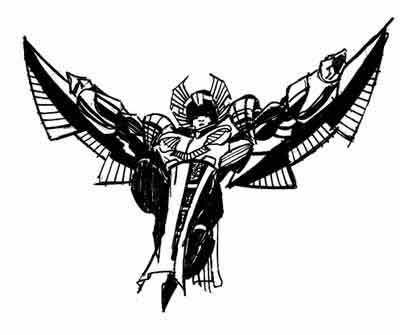
Step 6This is the character as drawn on the actual art board. The difference between this image and the initial gesture drawing is pretty substantial, but hopefully you can see how easy it is to proceed through the steps! |
|
That's all there is to it! It's like sculpting on paper, except if you chisel too deep you can erase it or get a new piece of paper! So get out there and draw some poses you've never drawn before!! Good luck - and HAVE FUN! |
|
|
Summary!Here's the process in a nutshell!Enjoy the little JavaScript movie of our process! To view the movie, you must have Java Script enabled on your browser! If you see a static image, that means you have Java turned off or you have a slightly older browser! Each of these drawings was done on a separate sheet of paper! No wasted time for clean-up and endless erasing!
|
)